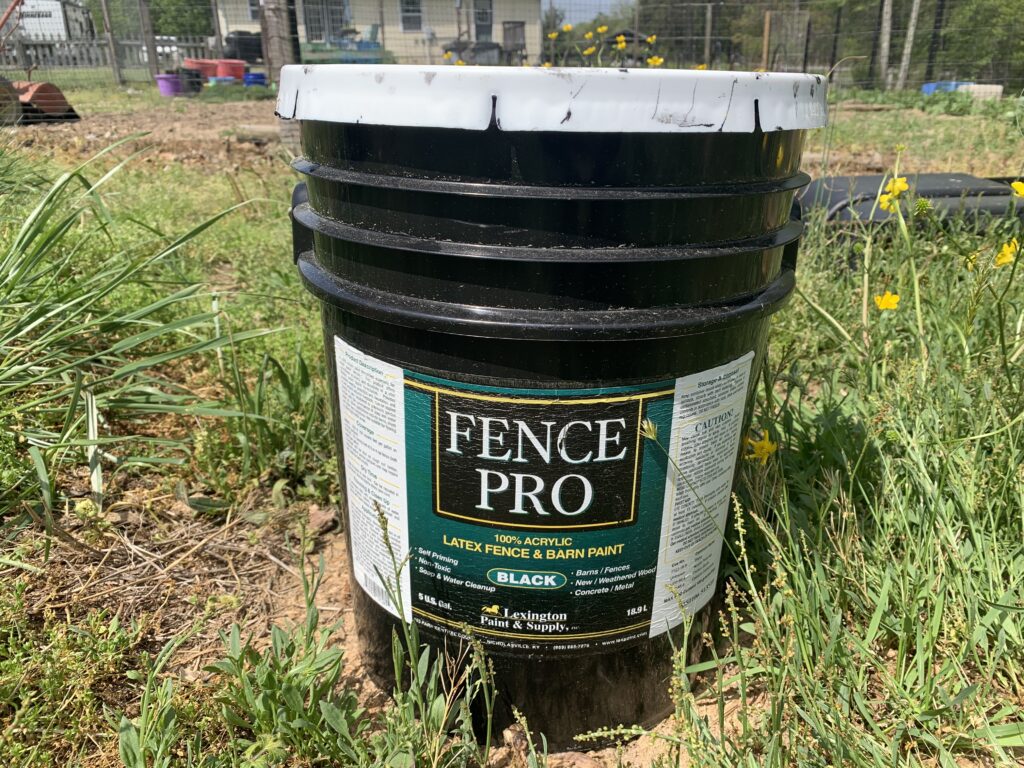
Spring is a wonderful time of year to consider painting your fences. With the longer daylight hours and warmer temperatures, we often feel more compelled to work outdoors. Similarly to spring cleaning within your home, spring fever can lead to a high productivity level for most farm, garden or outdoor enthusiasts.
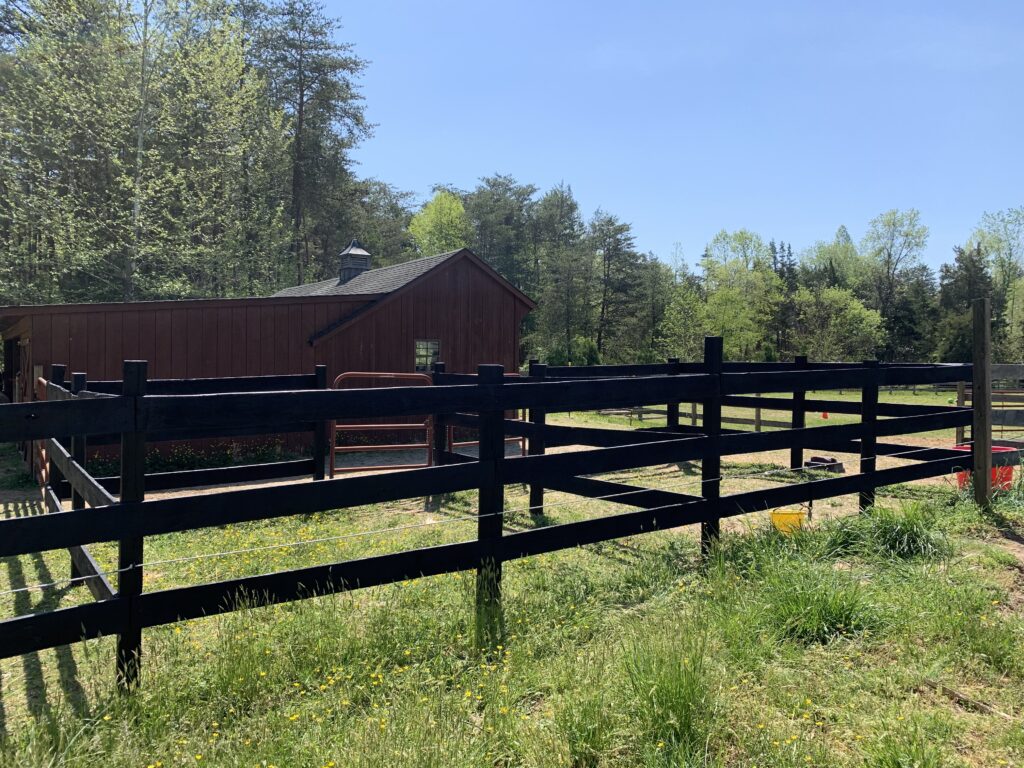
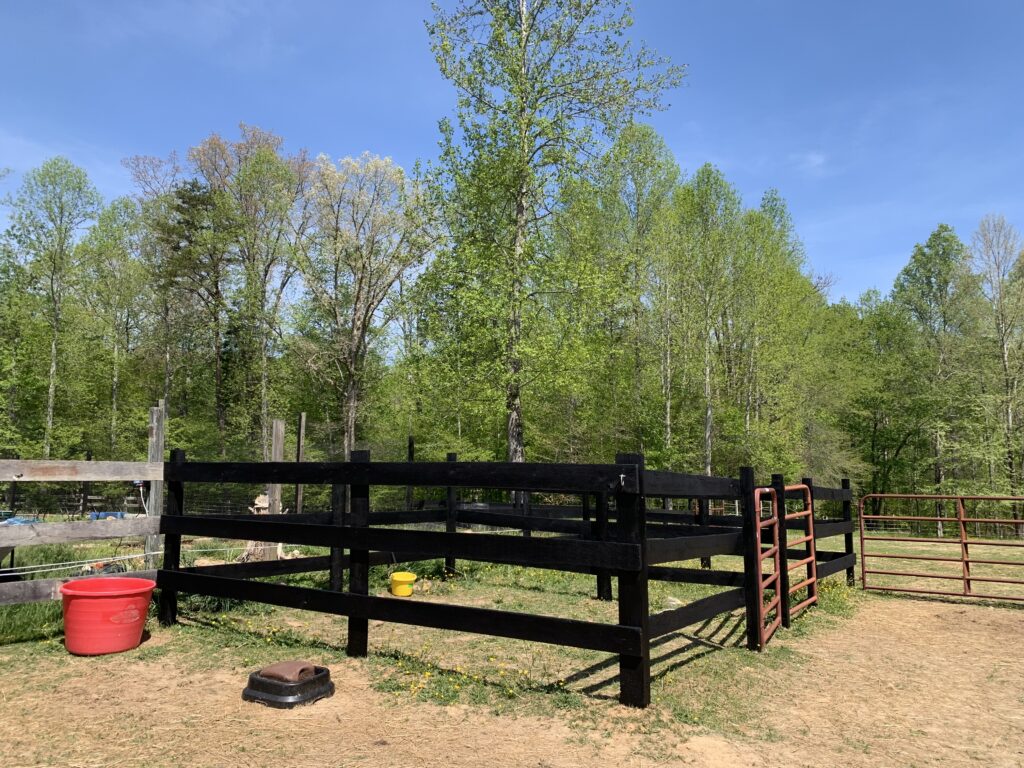
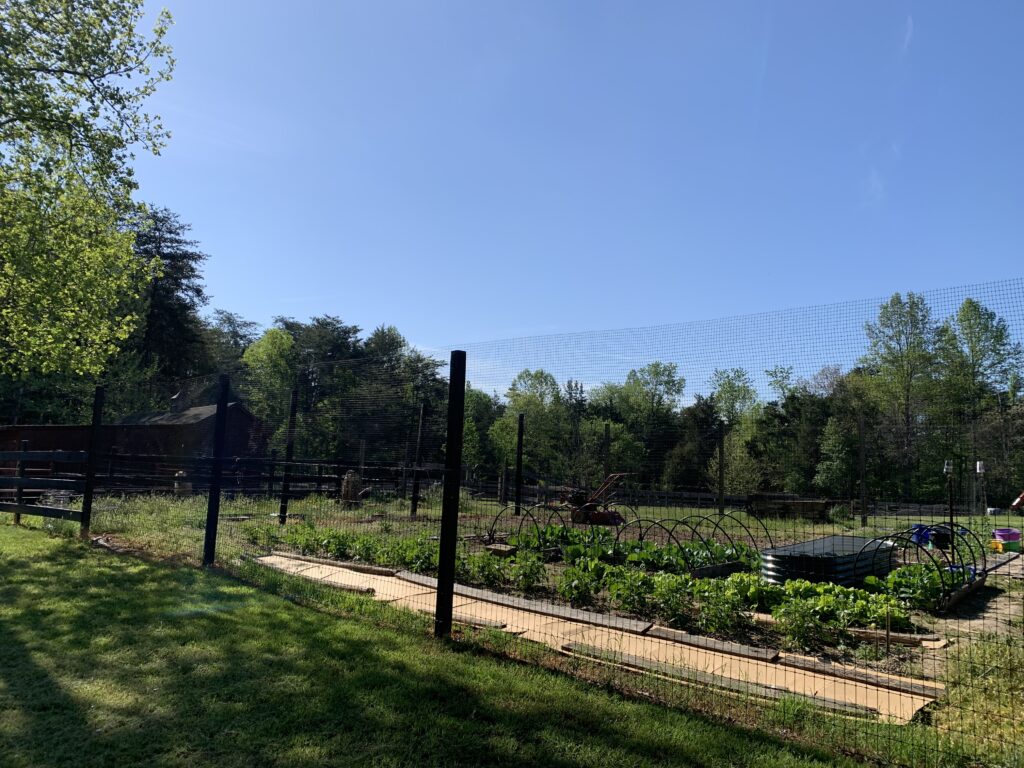
This was certainly our experience here at Care-A-Lot Farm. In early spring as the ground began to thaw, we set to work on farm improvements which included paddock expansions for our minis. Because we knew we wanted our garden fence to one day serve as a shared fenceline for a future paddock, we decided to install black woven wire at the bottom with black deer netting above. For a cohesive look, we decided to paint the garden posts black to help them blend in with the black woven wire and black netting. This naturally led us to begin painting the adjoining fencelines to provide a smooth transition and uniformity between the garden and barnyard.
Preparing Your Fenceline
Before you begin painting, it is always a good idea to make sure that the grass has been cut and or removed form around your fenceline. It can also be helpful to remove grass and debry from around your posts. This will allow you to paint lower on the posts and closer to the ground.
If you are painting a newly erected fenceline, it is recommended that you tamp the ground down very well around new posts and let the ground settle and compact before beginning to paint. This will allow your paint line to remain closer to the ground level.
Another tip is to clean older boards before painting. Sometimes older fences will have mud or even lichens growing on them which you will want to remove prior to painting. This can be done with a stiff or wire bristle brush or with a power washer. If you do decide to wash your fence, give it time to dry before applying paint.
Sprayers, Rollers and Brushes
There are many variables to consider when deciding which painting tools to use. If you are painting a large volume of fencing, then a sprayer may be a good choice. Sprayers can be much faster, but the overspray can be wasteful and you might still need to go back and touchup details around gates and latches with the precision of a brush. The second fastest application is with a roller, followed by a brush. The brush however is still the best tool for detail work. It is often the most readily available, and likely already in your shed.
It has been our experience that an inexpensive paintbrush will do the trick. Painting fences can be hard on the bristles and the thick fence paint can be more difficult to wash out of the brush. We tend to use our brushes a couple of times and then throw them away. Quality brushes are great for indoor use, but not necessary for rough and tough outdoor fence painting projects.
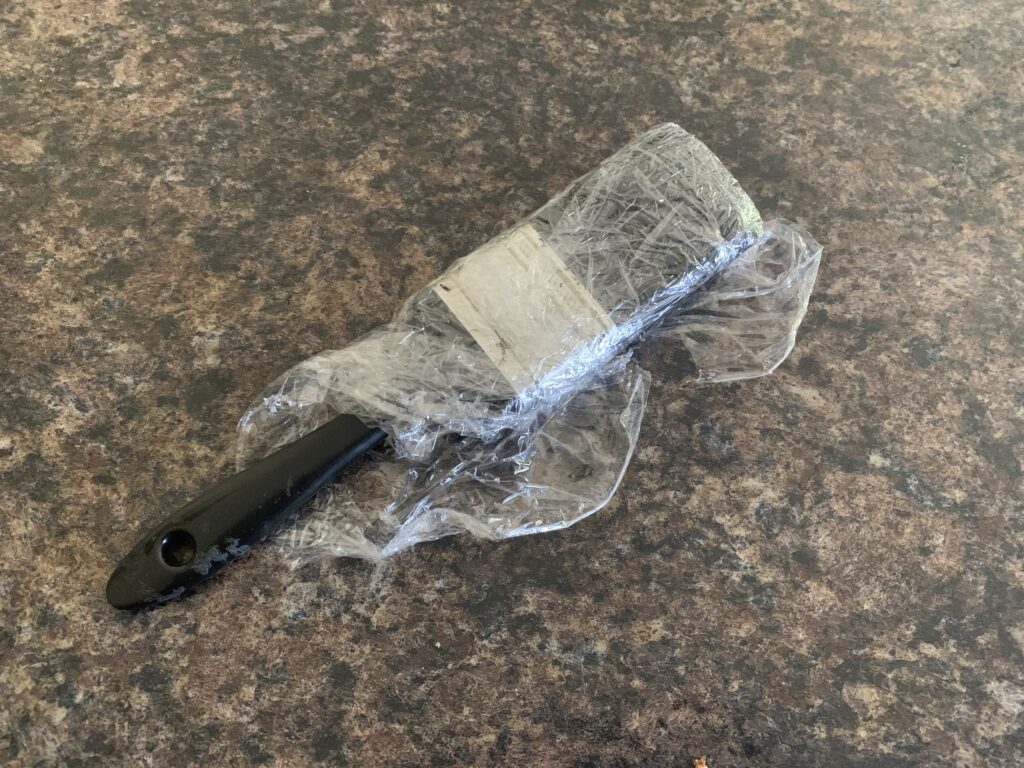
Another tip is to wrap your brush or roller in plastic wrap or a plastic bag if you are taking a short break. This will keep the paint from drying out and save you the trouble of washing more than you have to.
New Board vs Old Board
If you are like us, your farm may have a mix of old and new fencing in need of paint. Never fear, once everything has been given a fresh coat of paint, it will all blend together seamlessly. Do be mindful that the older boards will likely be rougher and have more crevices which could require a greater amount of paint and take longer to adequately cover. Our older boards were 10-15 years old and very thirsty, soaking up a significantly larger amount of paint.
Painting Around Electric Fencing
Here at Care-A-Lot Farm, we have a mix of 3-board wood and electric polyrope fencing. We also have a strand of polyrpe running around our perimeter fencelines to help deter our minis from pushing on the fence or trying to graze between the bottom two boards. Because of this, we made sure to unplug our electric fence while we worked to paint our perimeter fences and posts. Once finished, we made sure to plug it back in to help keep all of our equine friends safe and secure within their turnouts.
It Takes Time
No matter how you choose to tackle your fence painting project, be sure to give yourself plenty of time. It is not uncommon for jobs like this to take longer than expected. Especially if you are detail oriented and find yourself going back over the boards to ensure a thorough coverage. Attention to detail can be a wonderful thing, but when it comes to fence painting, it can greatly lengthen the time it takes to complete the project. That being said, if you are like me, in the end you will be left with a beautifully painted fence and one you can be proud of. A newly, well painted fence is a beautiful sight! Happy painting!!!